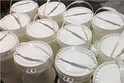
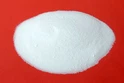
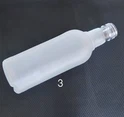
Applying glass etching cream is an exciting and creative way to transform ordinary glass objects into stunning, personalized pieces. As a supplier of high - quality glass etching cream, I'm here to guide you through the entire process, ensuring you achieve professional - looking results every time.
Understanding Glass Etching Cream
Before we dive into the application process, it's important to understand what glass etching cream is. Glass etching cream is a chemical compound that, when applied to glass, reacts with the surface to create a frosted or etched effect. There are different types of glass etching creams available on the market, such as Glass Etching Paste and Glass Etching Acid Cream. These creams typically contain hydrofluoric acid or other strong acids that are effective in altering the glass surface.
Safety First
Glass etching cream is a powerful chemical, and safety should be your top priority. Here are some safety measures you need to follow:
- Wear protective gear: Always wear chemical - resistant gloves, safety goggles, and a respirator. The acids in the etching cream can cause severe burns to your skin and eyes and can be harmful if inhaled.
- Work in a well - ventilated area: Make sure there is plenty of fresh air circulation. You can work outdoors or in a room with open windows and a fan.
- Keep it away from children and pets: Store the etching cream in a secure place, out of reach of children and animals.
Preparing Your Materials
To apply glass etching cream, you'll need the following materials:
- Glass object: This can be a glass vase, a window, a mirror, or any other glass item you want to etch.
- Glass etching cream: Choose a high - quality cream from a reliable supplier. Our range of Glass Etching With Cream products is formulated for excellent results.
- Stencil: You can create your own stencil using stencil paper or purchase pre - made stencils. The stencil will determine the design that will be etched onto the glass.
- Applicator: A small brush or a spatula can be used to apply the etching cream evenly.
- Cleaning supplies: You'll need glass cleaner and a lint - free cloth to clean the glass surface before and after the etching process.
Cleaning the Glass
Before applying the etching cream, the glass surface must be clean and free of any dirt, grease, or fingerprints. Follow these steps:
- Wash the glass with warm, soapy water. Use a mild dish soap and a soft sponge or cloth.
- Rinse the glass thoroughly with clean water to remove all the soap residue.
- Dry the glass with a lint - free cloth. Make sure there are no streaks or water spots.
Applying the Stencil
Once the glass is clean and dry, it's time to apply the stencil. Here's how:
- Peel the backing off the stencil carefully.
- Align the stencil on the glass where you want the design to be etched. Press the stencil firmly onto the glass to ensure good adhesion. Make sure there are no air bubbles or wrinkles in the stencil.
- If you're using a large stencil, you may need to use masking tape to hold it in place around the edges.
Applying the Glass Etching Cream
Now comes the exciting part - applying the etching cream.
- Stir the etching cream well before use. This ensures that the chemicals are evenly distributed.
- Using a small brush or a spatula, apply a thick, even layer of the etching cream over the exposed areas of the glass (the areas not covered by the stencil). Make sure the cream completely covers the design area.
- Work carefully and steadily to avoid getting the cream on the stencil or outside the design area. If any cream gets on the stencil, wipe it off immediately with a clean cloth.
- Let the etching cream sit on the glass for the recommended time. This can vary depending on the brand and type of etching cream you're using, but it's usually between 5 - 10 minutes.
Removing the Etching Cream
After the recommended time has passed, it's time to remove the etching cream.
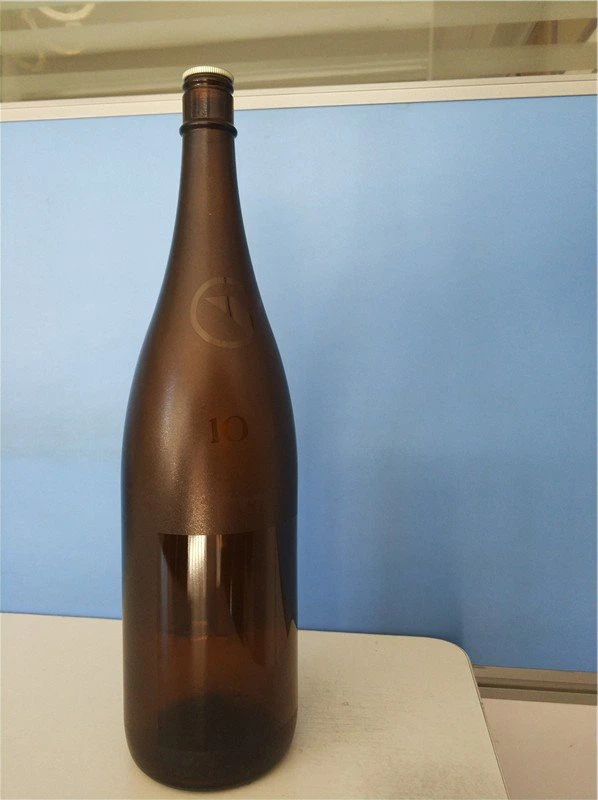
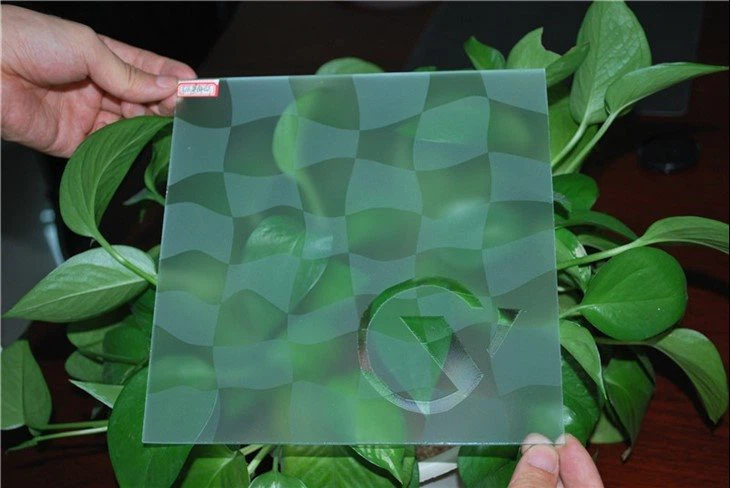
- Use a damp cloth or a sponge to wipe off the etching cream gently. Start from one edge and work your way across the design area.
- Rinse the glass thoroughly with clean water to remove all the remaining cream. You may need to use a hose or a sink with running water for a large glass object.
- Carefully peel off the stencil. You should now see a beautiful, etched design on the glass.
Finishing Touches
Once the glass is clean and the stencil is removed, you can give the etched glass a final touch.
- Dry the glass with a lint - free cloth.
- If desired, you can apply a glass sealer or a protective coating to the etched area to make it more durable.
Troubleshooting
Sometimes, you may encounter some issues during the etching process. Here are some common problems and solutions:
- Uneven etching: This can be caused by an uneven application of the etching cream. Make sure you apply a thick, even layer of the cream over the design area.
- Stencil residue: If there is some stencil residue left on the glass after peeling off the stencil, you can use a glass cleaner and a soft cloth to remove it.
- Incomplete etching: If the etching is not deep enough or the design is not fully etched, you may need to re - apply the etching cream for a longer period of time. However, be careful not to over - etch the glass.
Conclusion
Applying glass etching cream is a fun and rewarding process that allows you to add a personal touch to your glass objects. By following these steps and taking the necessary safety precautions, you can achieve beautiful, professional - looking results.
As a supplier of high - quality glass etching cream, we are committed to providing you with the best products and support. If you're interested in purchasing our glass etching cream for your next project, or if you have any questions about the application process, please feel free to contact us. We're here to help you turn your creative ideas into reality.
References
- "The Art of Glass Etching" - A guidebook on glass etching techniques.
- Manufacturer's instructions for different glass etching cream products.