Hey there! As a supplier of Glass Etching Cream, I'm super excited to share with you how to make a floral pattern using our amazing product. Glass etching is a cool way to add a personal touch to glass items, and creating floral patterns can turn ordinary glass into a real work of art.
What You'll Need
First off, let's talk about the stuff you'll need for this project. Besides our Glass Etching Cream, you'll need some glass surface – it could be a glass vase, a window pane, or even a glass picture frame. You'll also need some stencils of floral designs. You can buy these at a craft store or make your own using contact paper or vinyl. A small paintbrush or a sponge brush is essential for applying the etching cream evenly. And don't forget to grab some protective gloves and goggles because the etching cream is a chemical product, and safety first, right?
Preparing the Glass
Before you start with the fun part, you gotta prep the glass. Clean the glass surface really well. Use a glass cleaner and a lint - free cloth to get rid of any dirt, fingerprints, or grease. This ensures that the etching cream will adhere properly and give you a clean, crisp pattern. Once it's clean, dry it thoroughly. You can let it air - dry or use a dry cloth to speed things up.
Applying the Stencil
Now, it's time to put on the stencil. If you're using a pre - made stencil, carefully peel off the backing and stick it onto the clean glass surface. Make sure it's flat and there are no air bubbles or wrinkles. If you made your own stencil, cut out your floral design with sharp scissors or a craft knife. Then, place it on the glass and use some masking tape to hold it in place. You want the stencil to stay put during the etching process.
Using the Glass Etching Cream
Here comes the main event! Put on your protective gloves and goggles. Take the Glass Etching Cream and squeeze a small amount onto a palette or a disposable plate. Dip your brush into the cream. Start applying the cream over the stencil, following the lines of the floral design. Make sure to apply it evenly and thickly enough to cover the glass completely within the stencil. You don't want any thin spots where the etching might not be as effective.
If you're using a sponge brush, you can dab the cream onto the stencil for a more textured look. But if you want a smooth, professional finish, a regular paintbrush is the way to go. Work carefully and take your time. You can go over the design a couple of times to make sure the cream is well - distributed.
Waiting for the Etching to Happen
Once you've applied the etching cream, it's time to wait. Check the instructions on the packaging of our Glass Etching Cream for the recommended time. Usually, it takes about 5 - 10 minutes. During this time, the chemicals in the cream are reacting with the glass surface, creating a frosted effect. Don't be tempted to peek too soon or touch the cream. Just be patient and let the magic happen.
Removing the Stencil and Cleaning Up
After the recommended time has passed, it's time to remove the stencil. Put on your gloves again and carefully peel off the stencil. You'll see the beautiful floral pattern etched onto the glass. Rinse the glass under running water to remove any remaining etching cream. Use a soft cloth to gently wipe away any residue. You might need to rinse it a few times to make sure all the cream is gone.
Finishing Touches
Once the glass is clean and dry, you can give it a final inspection. If there are any small areas that didn't etch as well as you'd like, you can re - apply the stencil and a little more etching cream for a touch - up. You can also use a glass polish to give the glass a nice shine. And that's it! You've successfully made a floral pattern using our Glass Etching Cream.
Different Types of Glass Etching Products
We offer a variety of glass etching products. If you're interested in a thicker consistency, check out our Glass Etching Paste. It's great for creating more three - dimensional effects and is easier to control in some cases. Our Chemical Glass Etching Cream is formulated to give a really deep and long - lasting etch. And if you want to learn more about the general process of glass etching with cream, head over to Glass Etching With Cream.
Applications of Floral Glass Etching
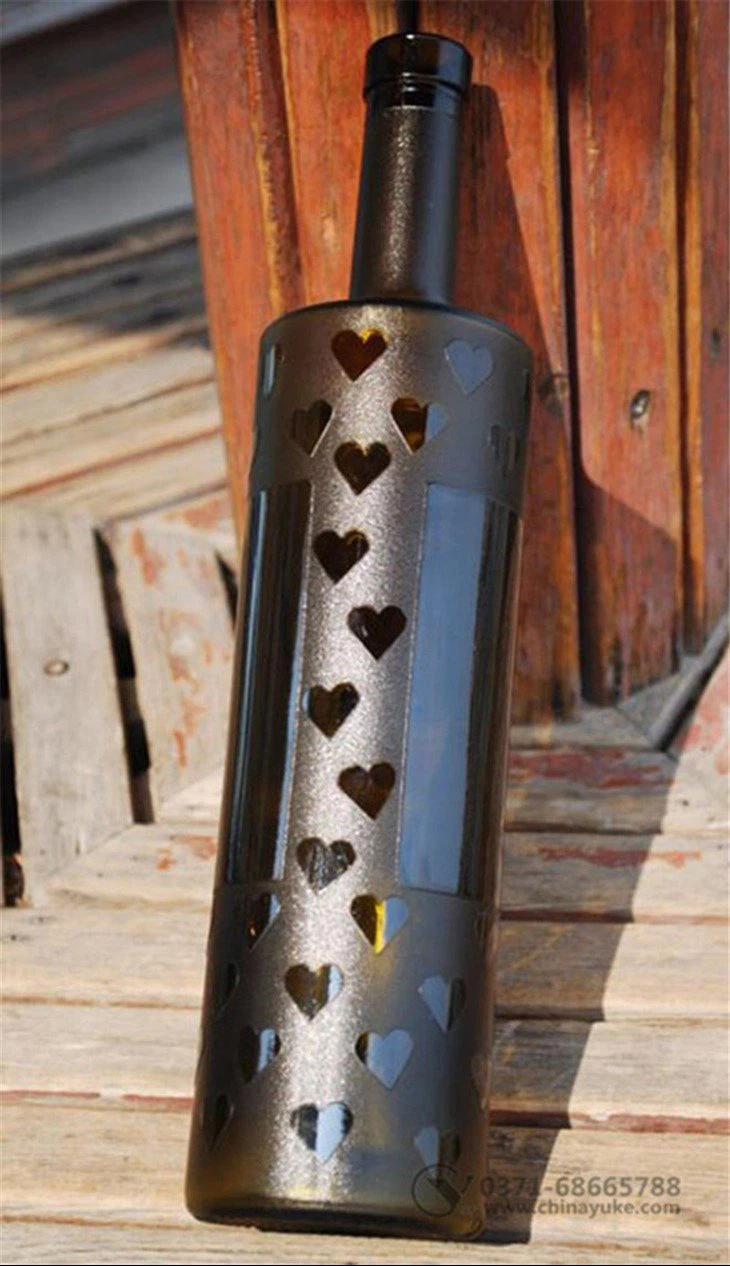
The floral patterns you create with our Glass Etching Cream can be used in so many ways. You can make unique gifts for your friends and family. A glass vase with a floral pattern makes a great centerpiece for a dining table. Etched glass windows can add a touch of elegance to your home. You can also use etched glass in commercial settings, like in restaurants or hotels, to create a more inviting atmosphere.
Why Choose Our Glass Etching Cream
Our Glass Etching Cream is top - notch. It's easy to use, even for beginners. The formula is designed to give a consistent and high - quality etch every time. We use the best chemicals that are safe when used as directed. And we offer great customer support. If you have any questions about using our product or creating your floral patterns, we're here to help.
Contact Us for Procurement
If you're interested in purchasing our Glass Etching Cream, whether it's for personal use or for your business, we'd love to hear from you. We offer competitive prices and can provide you with bulk orders if needed. Just reach out to us, and we'll start the procurement process. We're always looking for new customers and partners, so don't hesitate to get in touch.
References
- Crafting magazines for general glass etching tips
- Industry reports on glass etching products
So, go ahead and give it a try. Create your own beautiful floral patterns with our Glass Etching Cream and let your creativity shine!