Hey there! I'm a supplier in the chemical frosting of glass business, and today I wanna share with you how to prepare the glass surface for chemical frosting. It's a pretty crucial step that can make or break the final look of your frosted glass products.
First off, let's talk about why preparing the glass surface is so important. Chemical frosting works by using certain chemicals to etch the glass surface, creating that smooth, frosted look we all love. But if the glass surface isn't properly prepped, the chemicals might not work as effectively, and you could end up with an uneven or spotty finish.
Step 1: Cleaning the Glass
The very first thing you need to do is clean the glass thoroughly. This means getting rid of any dirt, dust, grease, or fingerprints that might be on the surface. Even the tiniest bit of grime can interfere with the chemical frosting process.
You can start by using a mild glass cleaner. Just spray it on the glass and wipe it off with a clean, lint - free cloth. Make sure to get into all the corners and edges. If there are any stubborn stains or grease marks, you might need to use a bit of rubbing alcohol. Dip a cloth in the alcohol and gently rub the affected area. After that, rinse the glass with clean water and dry it completely. A dry surface is key because any remaining moisture can dilute the frosting chemicals.
Step 2: Inspecting for Imperfections
Once the glass is clean, take a close look at it for any scratches, chips, or cracks. These imperfections can cause the chemical frosting to look uneven. If you find any minor scratches, you might be able to buff them out using a fine - grit sandpaper. Just be really careful not to scratch the glass even more. For chips or cracks, it's usually best to replace the glass, as these can't be easily fixed and will definitely affect the final result.
Step 3: Masking the Areas You Don't Want to Frost
If you only want to frost certain parts of the glass, you'll need to mask off the areas you want to keep clear. You can use masking tape or a special masking film. Make sure the tape or film is firmly pressed against the glass to prevent the frosting chemicals from seeping under it. Cut the tape or film to the right shape and size, and apply it carefully. Double - check that there are no gaps or bubbles.
Step 4: Choosing the Right Chemicals
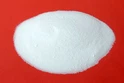
As a supplier, I know that choosing the right chemicals is super important. There are different types of glass frosting materials available in the market. For example, Glass Eteching Powder is a popular choice. It's easy to use and can give you a nice, consistent frosted look.
Before you start using any chemicals, make sure to read the instructions carefully. Different chemicals have different application methods and safety precautions. Always wear protective gear like gloves and goggles when handling these chemicals, as they can be harmful if they come into contact with your skin or eyes.
Step 5: Applying the Chemicals
Now it's time to apply the frosting chemicals. If you're using a powder like the Glass Eteching Powder, you'll usually need to mix it with water to form a paste. Stir the mixture well until it has a smooth consistency.
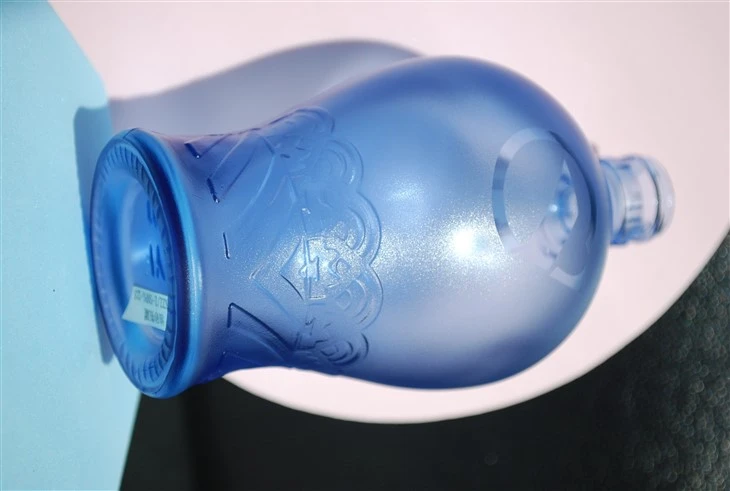
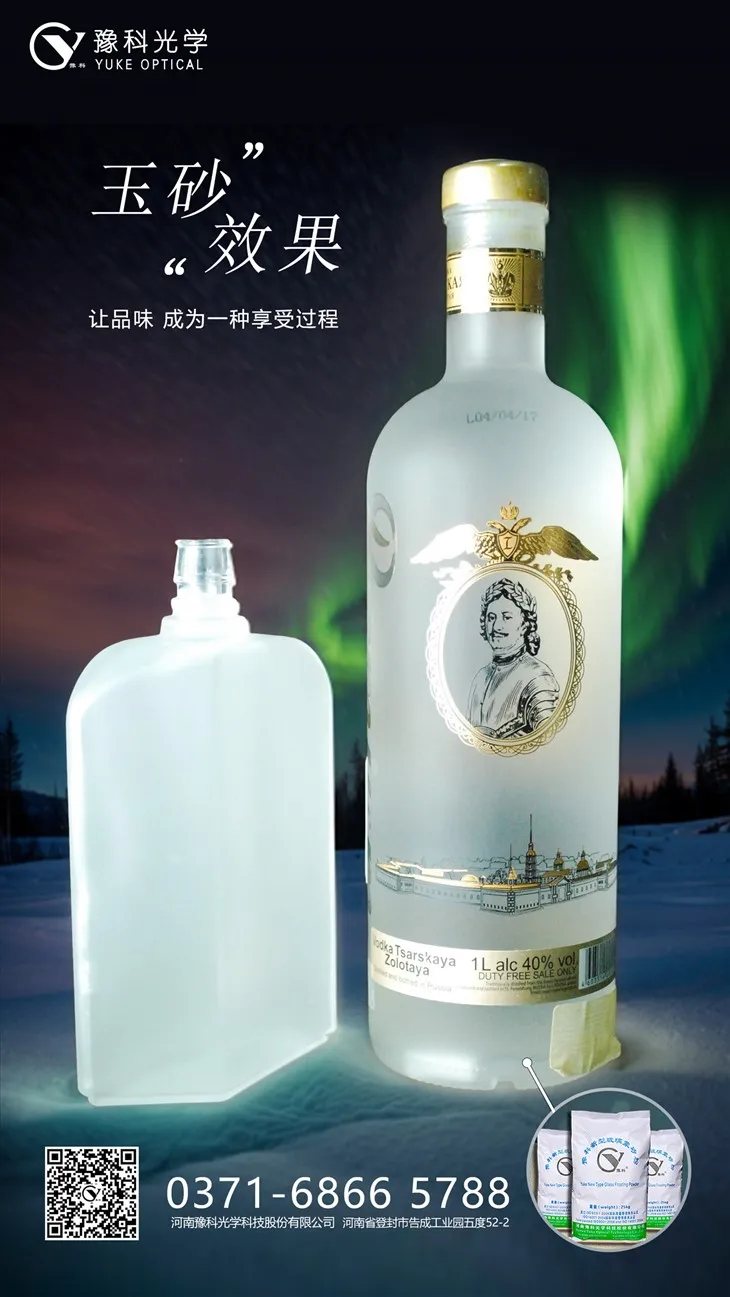
Using a brush or a sponge, apply the chemical paste evenly to the glass surface. Make sure to cover the entire area you want to frost. If you're frosting a large piece of glass, you might need to work in sections to ensure an even application. Don't apply the paste too thickly, as this can cause drips and an uneven finish.
Step 6: Letting the Chemicals Work
After applying the chemicals, you'll need to let them sit on the glass for a certain amount of time. This time can vary depending on the type of chemical you're using. Usually, it's anywhere from a few minutes to half an hour. Keep an eye on the glass during this time. You'll start to see the frosted effect developing.
Step 7: Rinsing and Finishing
Once the chemicals have done their job, rinse the glass thoroughly with clean water. Make sure to remove all the chemical residue. You can use a hose or a bucket of water for this. After rinsing, dry the glass with a clean cloth.
If you want to, you can give the frosted glass a final polish to make it look even better. You can use a glass polish or a microfiber cloth to gently buff the surface.
Applications of Frosted Glass
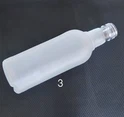
Frosted glass has a wide range of applications. For example, A Bottle Of Wine Водка Vodka Whisky Glass Bottle can look really elegant with a frosted finish. It gives the bottle a more luxurious and sophisticated look. And Oil Sand Effect Glass Liquor Bottle is another great example. The frosted effect can enhance the overall aesthetic of the product and make it stand out on the shelves.
Conclusion
Preparing the glass surface for chemical frosting is a multi - step process, but it's well worth the effort. By following these steps, you can ensure that you get a beautiful, even frosted finish on your glass products. Whether you're a DIY enthusiast or a professional in the glass industry, these tips can help you achieve great results.
If you're interested in purchasing high - quality glass frosting materials, feel free to reach out for a procurement discussion. We're always here to help you find the best products for your needs.
References
- Glass Industry Handbook: Chemical Processes
- Frosted Glass Application Guide